How do I add custom fonts to Vision theme?
Shopify, by default, has support for its own fonts and other custom fonts should be added via customization.
There are a couple of steps to add your web fonts. Let’s get started.
1) Upload your fonts to Shopify
Download the Webfont version of your fonts. The font files must include the WOFF and WOFF2 file types (TTF or OTF are not Webfont file types).
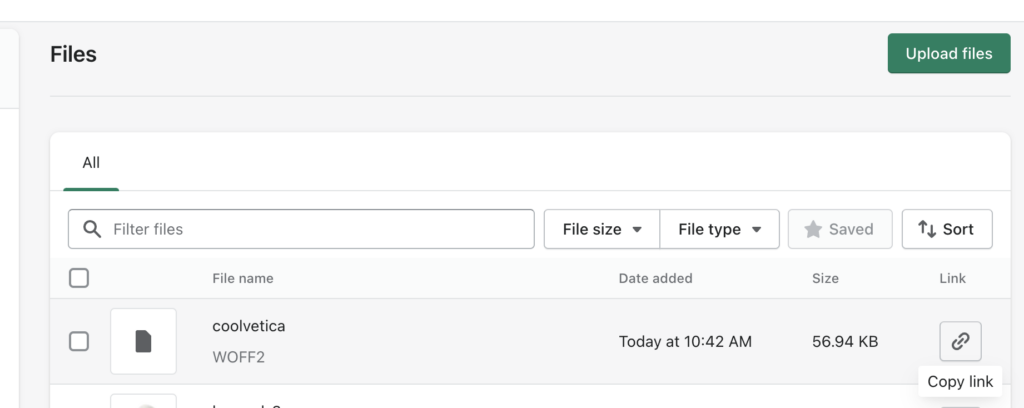
Upload these fonts to Shopify using Shopify Admin > Settings > Files:

2) Add your @font-face rules
The next step is to add your @font-faces rules to snippets/head-variables.liquid file from Shopify Admin > Themes > Edit Code and then select Snippets/head-variables.liquid file.
Find {% style %}
and add below the below code, filling out the name of your font file and the url of your font file from the Files screen.
@font-face {
font-family: "NAME OF FONT";
src: url("URL-OF-FONT-FILE.woff2") format("woff2");
}
3) Change font-family for headings or body
Inside the same file, you ‘ll find:
h1,h2,h3,h4,h5,h6,
.h1,.h2,.h3,.h4,.h5,.h6,
.logolink.text-logo,
.heading-font,
.h1-xlarge,
.h1-large,
blockquote p,
blockquote span,
.customer-addresses .my-address .address-index  {
font-style: {{ heading_font.style }};
font-weight: {{ heading_font.weight }};
font-family: {{ heading_font.family }};
}

body,
.body-font,
.thb-product-detail .product-title {
font-style: {{ body_font.style }};
font-weight: {{ body_font.weight }};
font-family: {{ body_font.family }};
}
You can replace {{ heading_font.family }} and {{ body_font.family }} with your font name. So for example, the end result should be:
h1,h2,h3,h4,h5,h6,
.h1,.h2,.h3,.h4,.h5,.h6,
.logolink.text-logo,
.heading-font,
.h1-xlarge,
.h1-large,
.customer-addresses .my-address .address-index {
font-style: normal;
font-weight: 600;
font-family: "NAME OF FONT";
}

body,
.body-font,
.thb-product-detail .product-title {
font-style: normal;
font-weight: 400;
font-family: "NAME OF FONT";
}