How do I set up product variant swatches?
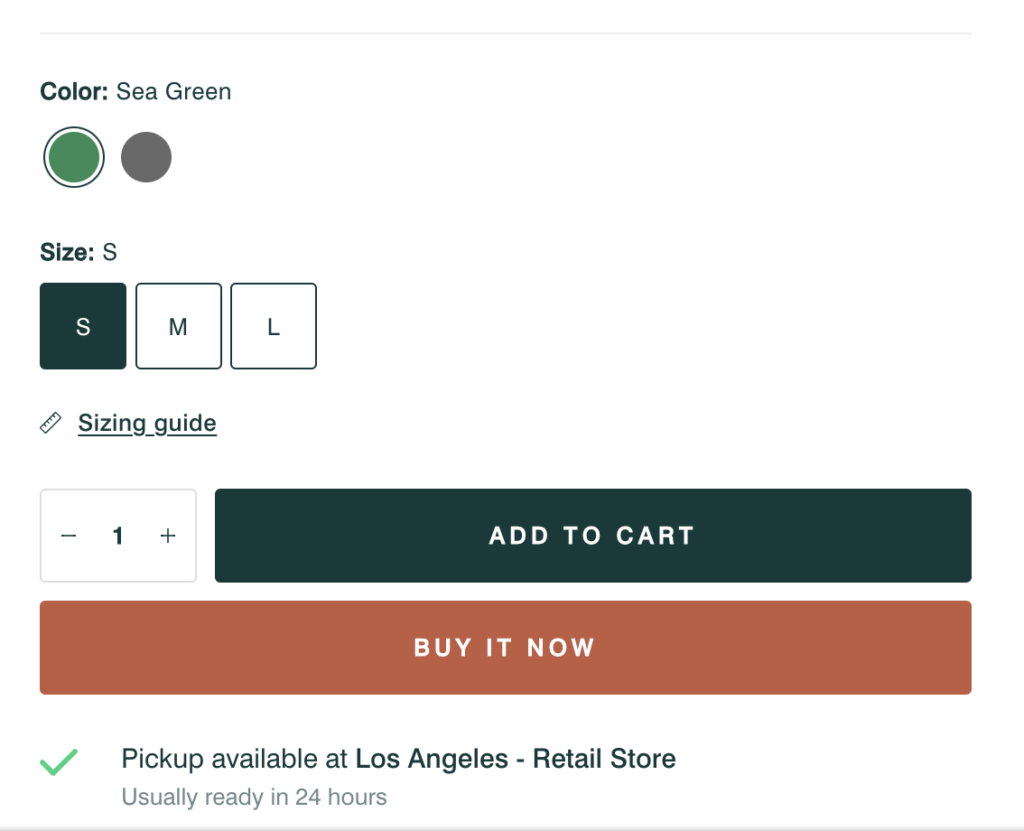
A Color swatch is a solid color or thumbnail image used to represent a product’s color, pattern, or shade.

Set up variants for colors
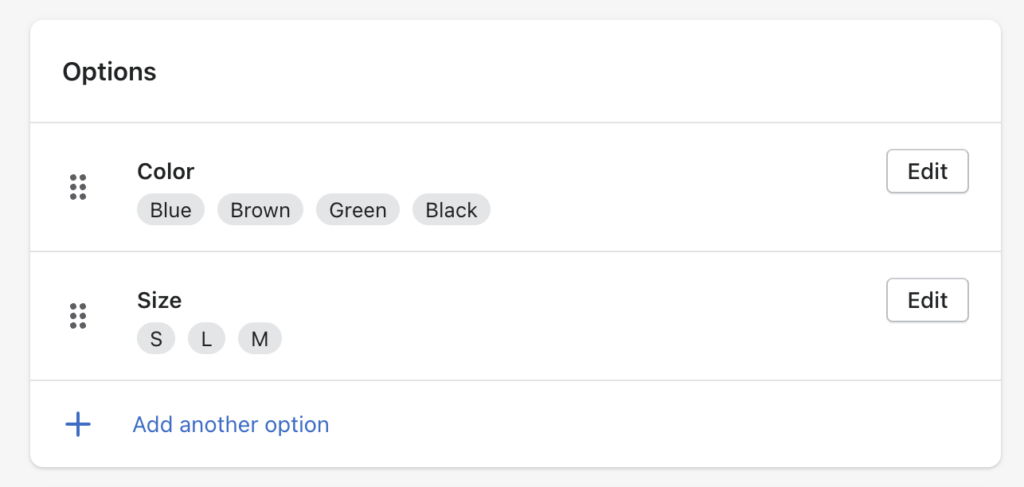
To use swatches, at least one product must contain product variants with the option name “Color“. Confirm this is the case before continuing.

Enable for product pages
In the theme editor (Customize), use the page selector to open Products, then Default product.
Click the toggle beside Product page to reveal its blocks.
Click the Variant picker block to customize its settings.
Activate Enable color swatches.
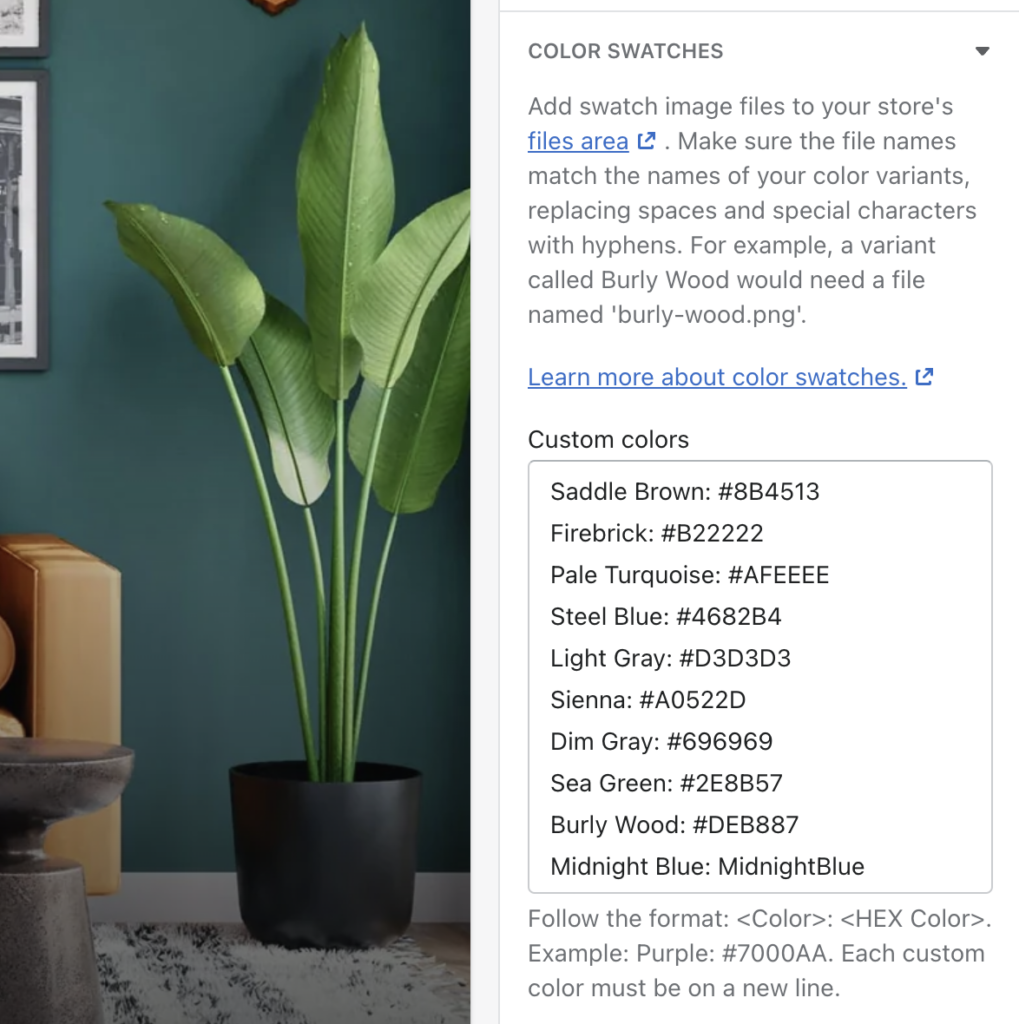
Setting Custom colors
Color swatches replace the traditional dropdown for variant options of type color. However, if you are using some color names that are non-standard (like “zebra black”, or “denim blue” for instance), you will realize the color swatch appears white.
This is because the theme can’t guess which color to display. To make it work, you will need to set your custom color code or create your small image and upload them to your site.
- Open the theme editor and, at the bottom, click on “Theme settings“:
- Select the “Color swatches” sub-section. In the “Custom colors” box, you will need to enter the name of the color (as written in your Shopify admin), followed by :, and then either the hex color code or the name of a file. You must enter one mapping per line. When writing hex code, do not forget to add the initial # before the color code. It won’t work if it is omitted.
- If you want to use a more complex image (such as a pattern), you will first need to upload an image in the Files section of Shopify (we recommend a 64×64 image, either in PNG or JPG). You can learn more about how to do that here: https://help.shopify.com/en/manual/shopify-admin/productivity-tools/file-uploads
- In the configuration, instead of an hex code, enter the file name (do not forget the extension, it won’t work without it):
